
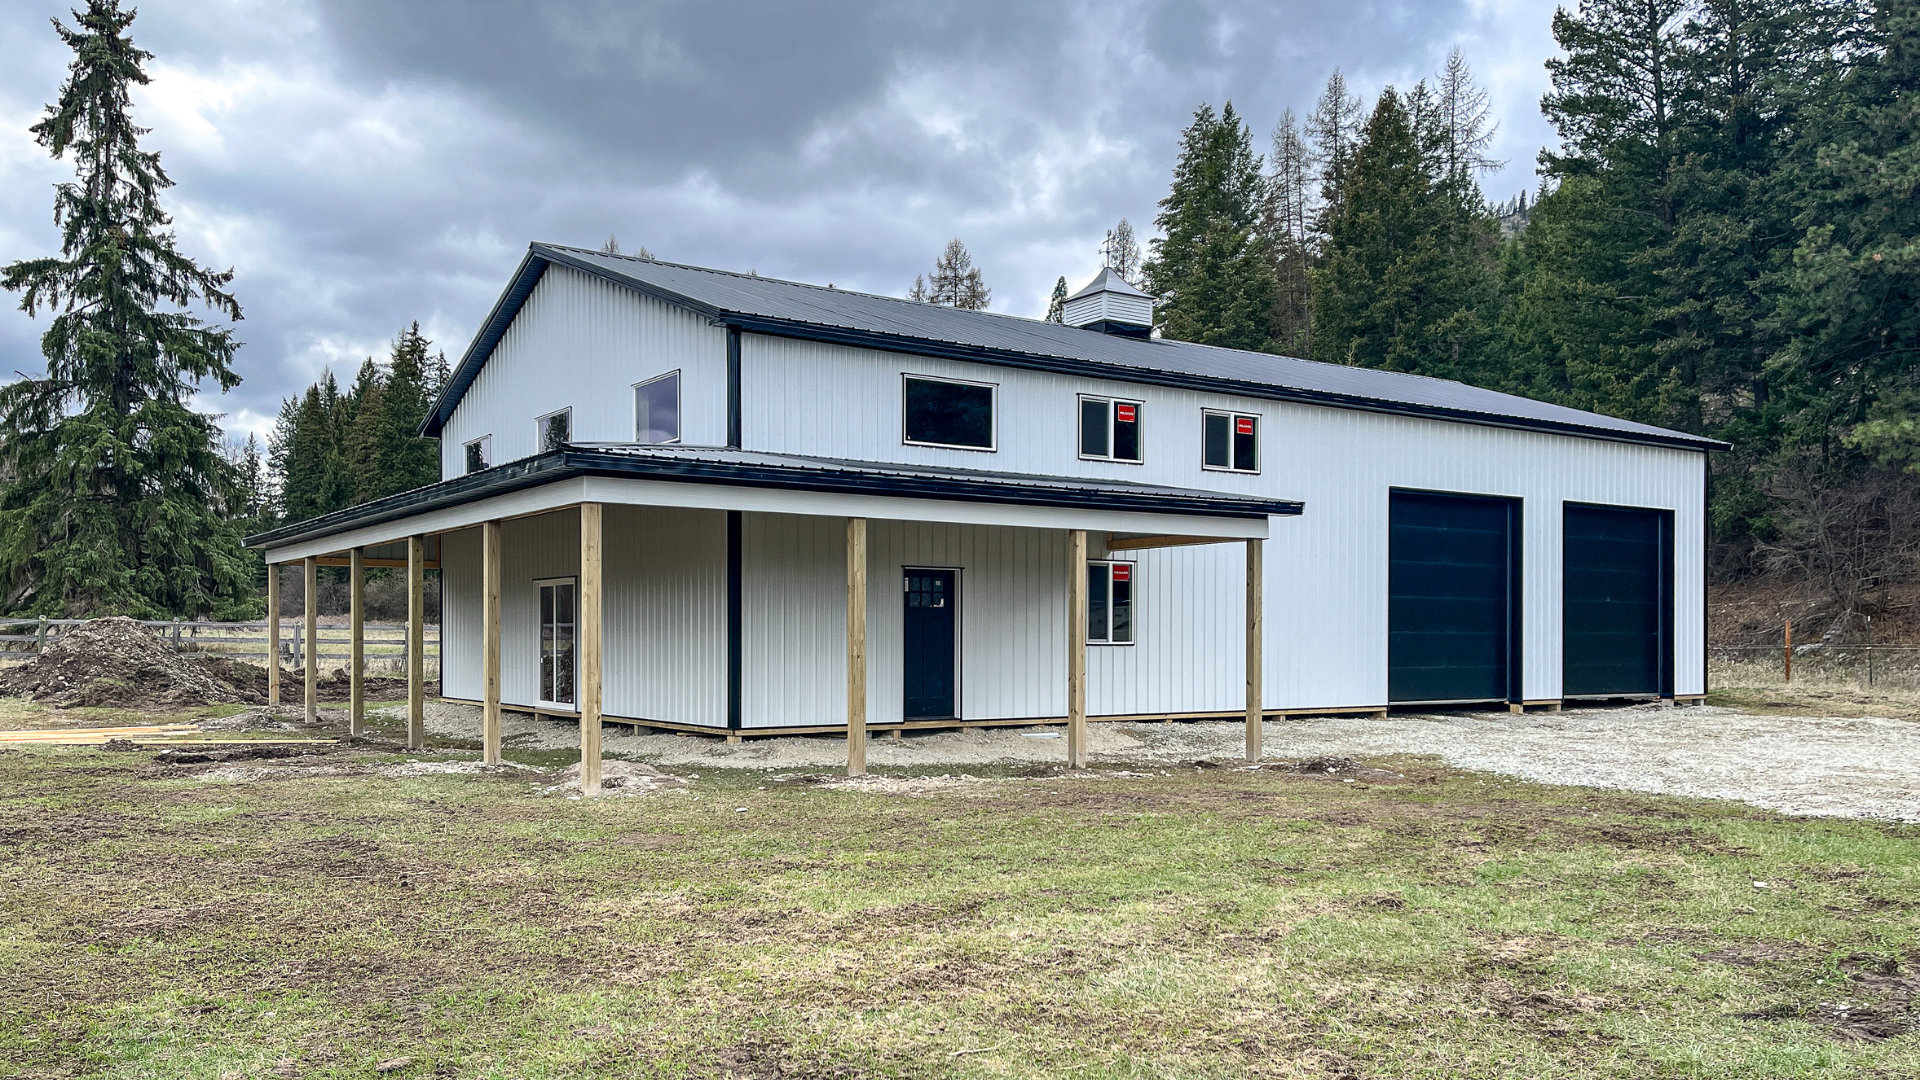
Yes, you can save money buy building a montana pole barn in phases. Building in phases can make your pole barn project more manageable, but only when the first phase protects the final plan. We often help customers prioritize a durable shell, correct dimensions, engineering, and essential openings before adding comfort or finish features later.
The goal is not to buy the cheapest first phase. It is to avoid paying twice for work that must be removed, reinforced, or relocated when the building is finished. A clear end-state plan allows each investment to support the next one.
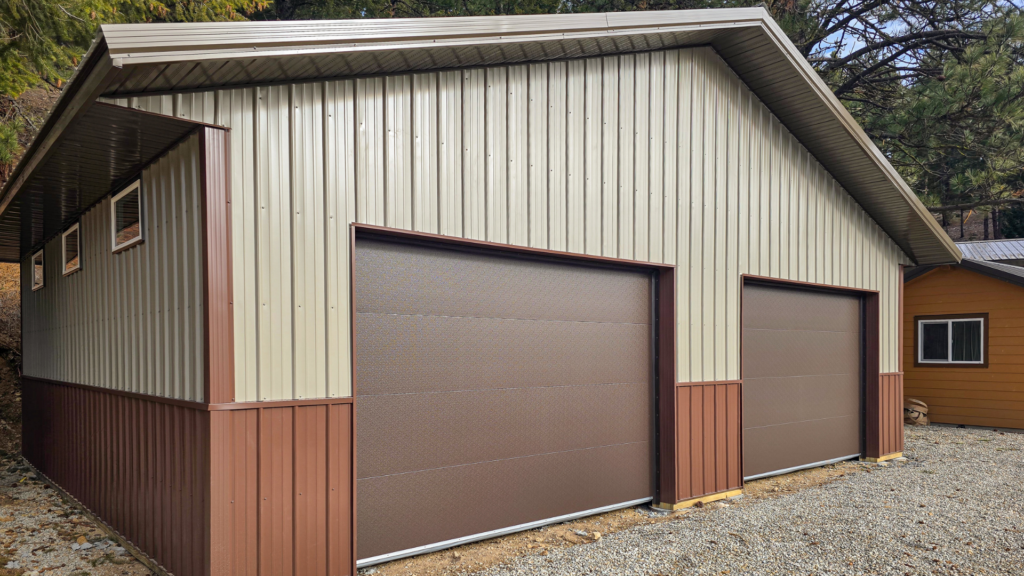
Which Decisions Must Be Made Before the First Phase
Phasing works best when the final building is designed before the first post is set. At MQS, we need to know the eventual heated area, rooms, ceiling loads, stairs, large doors, plumbing locations, work aisles, stalls, and storage systems even if the owner will not purchase every finish immediately. The shell can then facilitate future work instead of restricting it.
Some items are relatively easy to postpone. Interior liners, selected insulation work, cabinets, and certain equipment can often follow the shell when all attachment points and needed clearances are pre-planned. Structural openings, post locations, roof geometry, drainage, and buried utility routes are much more disruptive to change after construction has finished, and concrete has been poured.
We recommend writing a phase schedule beside the floor plan. Each phase should identify its scope, responsible contractor, permit needs, required inspections, and the condition the building must remain in until the next phase. This keeps a temporary choice from quietly becoming a permanent compromise.
What Should Be Fixed Before You Divide the Work into Phases?
Before we finalize the price, design path, or permit plan behind answering the question of “How Can You Save Money by Building a Montana Pole Barn in Phases?,” we recommend putting a heavy emphasis on these three topics:
- Engineer and size the shell for the intended final use before postponing optional additional interior work.
- Prioritize drainage, access, doors, structural openings, and condensation planning in the first phase.
- Separate safe future upgrades from changes that are difficult or expensive after construction.
The phase plan should also protect code compliance and safe use between stages. An unfinished shell may be appropriate for storage, but adding heat, plumbing, employees, customers, animals, or residential occupancy will change design and permit needs. Identify the intended end state during the first design and confirm which later work requires professionals or inspections.
We do not provide electrical work or fully finished-out interiors for occupancy. Plumbing, electrical, and other interior systems not initially provided should be coordinated so as not to change any structural members or block access to planned connections. A written phase record keeps future contractors from guessing what the original shell was designed to support. Owners who build a pole barn in phases save most effectively when the first design already protects the final operation.
How Should Each Pole Barn Phase Be Planned?
Start with the Finished Building on Paper
A phased pole barn construction project begins with the last phase. As a customer, you will want to see the future tack room, loft, or wash bay on the plan even if those spaces will remain unfinished. This lets the structural and opening layout account for future walls, stairs, equipment, and utilities.
We recommend measuring the final workflow as well. A tractor route should not pass through a future workbench area. A horse aisle should not be narrowed by a later tack room. A future vehicle lift may need clear height and slab planning that cannot be added casually after the fact.
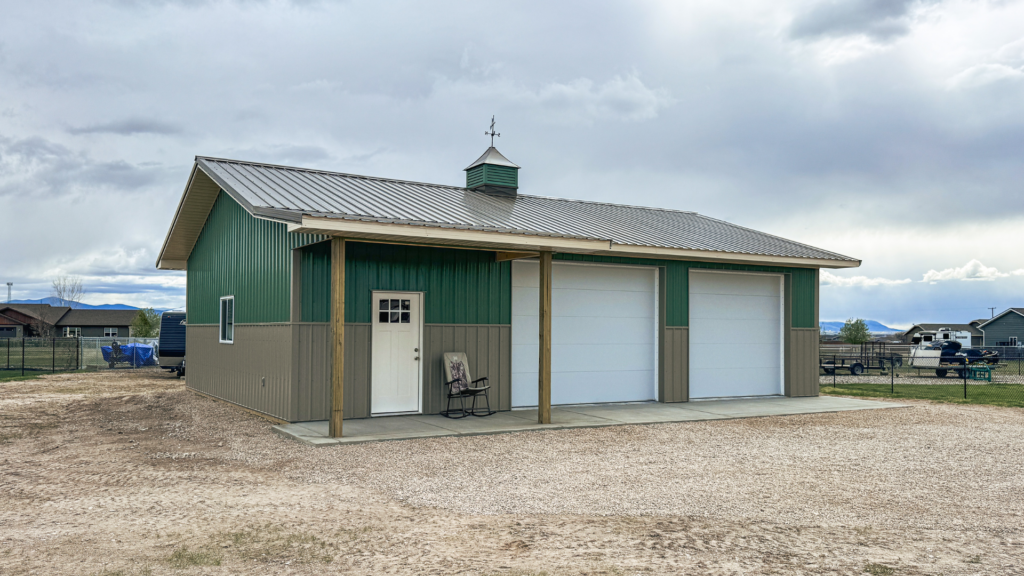
Phase One: Protect the Structure and the Site
The first phase generally establishes the engineered shell, needed roof & wall weather protection, permanent doors & framed openings, site drainage, and secure access. In heavy weather areas, roof design, bracing, connections, and snow-shedding consequences are not items to defer.
Our team of Montana custom pole builders can help owners distinguish structural decisions from finish decisions. We also recommend planning vapor control and insulation transitions early, because condensation details can become harder to correct after interior materials are installed.
Phase Two: Add the Floor and Building Envelope
Concrete may be installed before or after the shell depending on design, site conditions, local availability, and the project sequence. Before a slab is placed, decide where floor drains, thickened areas, vehicle lifts, plumbing penetrations, interior columns, or livestock features may go. Cutting and reinforcing concrete later can erase the savings of waiting.
Insulation, vapor barriers, doors, and interior liner materials should work as one envelope. If the future use includes heat, moisture, animals, or wash-down activity, tell your salesmen during phase one. The best customer fit for a structure depends on final usage, not simply on whether you plan to install insulation later.
Phase Three: Finish for the Actual Use
Later phases may include interior metal panel lining, framed rooms where available, stalls, storage systems, workbenches, or customer-arranged plumbing, mechanical, and electrical work. Electrical work is not included in any building construction packages, so owners should coordinate a qualified trade contractor and preserve access for future circuits and equipment.
Our residential post-frame building standard packages have unfinished interiors, and finish options vary by region. A phased plan should name who completes each later item and whether the work can occur without altering any engineered framing.
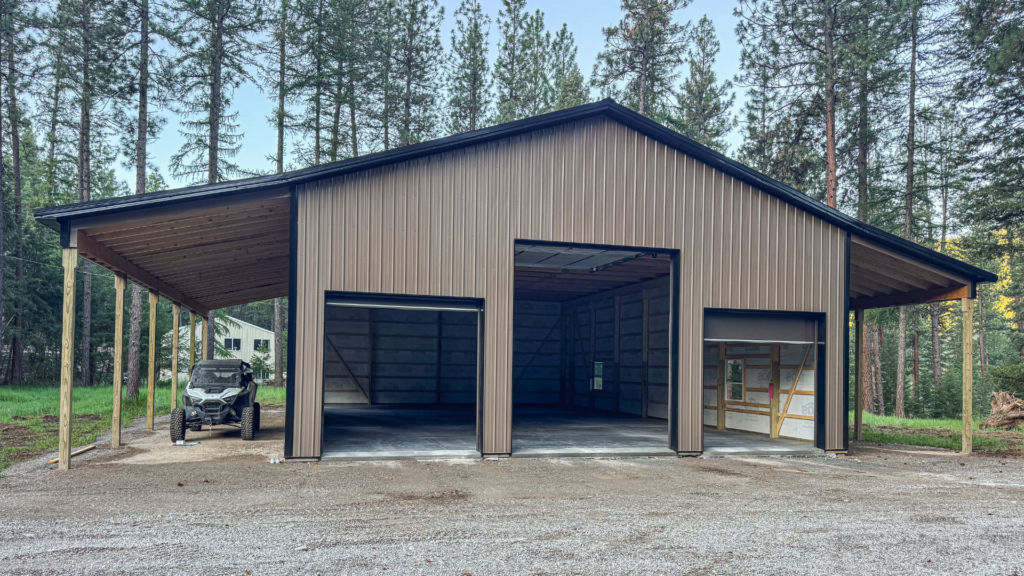
Use Specials Without Designing Around the Wrong Building
Current pole barn specials can provide a cost-effective starting configuration. Compare the model dimensions, height, use, openings, and included scope with the final plan before choosing one. An optimized 10-foot-tall building structure will not save you money if a future RV or equipment purchase will need a 14-foot opening.
Let’s say you are a future Lockwood pole building owner who wants storage now and a heated hobby shop later. The first phase should reserve the correct door height, window locations, insulation strategy, and interior work zone. Postponing the liner and electrical work may be an option; undersizing the shell or placing doors where future rooms go is not.
How to Build a Custom Pole Barn in Phases Without Rework
To build a pole barn in phases successfully, draw the final floor plan over the first-phase shell. Mark every future wall, stair, utility route, door swing, vehicle lane, workbench, stall, and ceiling-supported item. Then identify which first-phase choices would become inaccessible or expensive once concrete and interior liners are installed.
Owners who are looking to build a pole barn in phases should also assign a trigger for each later step, such as budget availability, utility completion, or a change in use. This keeps temporary storage from quietly becoming a full and unusable until cleaned space. The result should be one coordinated project rather than several disconnected remodels.
Questions About Finishing a Pole Barn Over Time
What is usually safest to postpone?
Decorative upgrades and some interior finish work may be postponed when the structure, envelope, and future connections are planned correctly.
Can concrete be added after the pole barn is built?
Often it can, but the slab design, access, drainage, future utilities, and structural interfaces should all be planned before construction.
Should I wait to choose insulation?
You may wait to purchase some insulation, but you should identify the intended heated or conditioned use early, so that your fully enclosed building envelopes are compatible with condensation prevention needs.
Can I add a lean-to later?
A later addition is possible, but can require additional engineering, permits, drainage planning, and connections. Including it in your original design is the best way to reduce uncertainty.
Does MQS finish barndominium interiors?
Currently, we primarily build barndominium shells. Full residential interior buildouts are not currently a part of our finishing offerings, and owners must coordinate the additional trades and approvals to complete the desired finish.
Conclusion: Plan a First Phase That Supports the Final Building
We have built more than 5,000 post-frame structures since MQS Barn was founded in 2011. Our role is to help customers reach their final building plan while choosing which available options belong in the first phase and which can wait.
Describe what you need now and what you want later through our free custom pole barn quote request. We can help you plan for the final dimensions, load requirements, openings, and workflow while prioritizing the first investment.

At MQS Barn, building a custom barn shouldn’t feel overwhelming. You don’t need endless back‑and‑forth or surprise costs. We handle everything from design to building, so you get a quality post-frame structure built right. No unnecessary add-ons. No vague timelines. If you’re searching for the most reputable Amish barn builders in the area, you’ve found us.
Just dependable craftsmanship and solid service. Want to see how straightforward it can be? Call us toll‑free at 855‑677‑2276. Or head over to our Contact Us page or request your free quote. We’ll take care of the details and deliver a barn you can count on. At MQS Barn, we create dependable and attractive buildings by combining contemporary building methods with traditional characteristics.

